
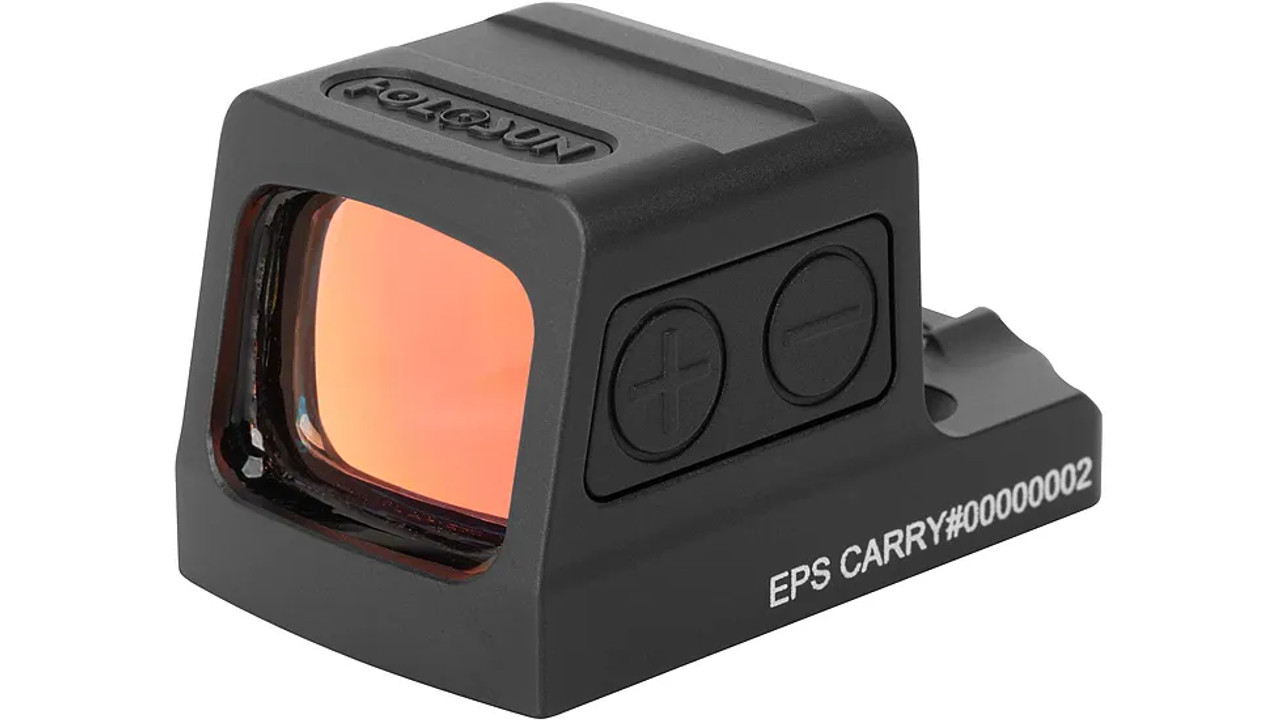
Holosun optics are renowned for their reliability and advanced features, and the EPS Carry Red Dot is no exception. However, users may occasionally encounter issues that require troubleshooting, such as resetting the device or addressing problems with reticle settings. This comprehensive guide covers everything you need to know about resetting your Holosun EPS Carry and troubleshooting related issues.

My EPS Carry Unable to Change Reticle
Changing the reticle on the Holosun EPS Carry is a straightforward process, but occasionally, users encounter challenges. Here’s a breakdown of potential issues and how to resolve them.
How to Factory Reset Holosun EPS Carry Red Dot
If you’re unable to change the reticle or experiencing other performance issues, a factory reset might help. Here’s how to do it:
- Prepare Your Device:
- Remove the optic from your firearm for safety.
- Ensure the battery is properly installed and has sufficient charge.
- Locate the Reset Button:
- The reset button is usually near the battery compartment or adjustment controls.
- Perform the Reset:
- Use a small tool, like a paperclip, to press and hold the reset button for 5-10 seconds.
- Release the button when the reticle flashes, indicating the reset is complete.
- Test the Optic:
- Turn the device on to confirm functionality.
- Reinstall it on your firearm and test the reticle settings.
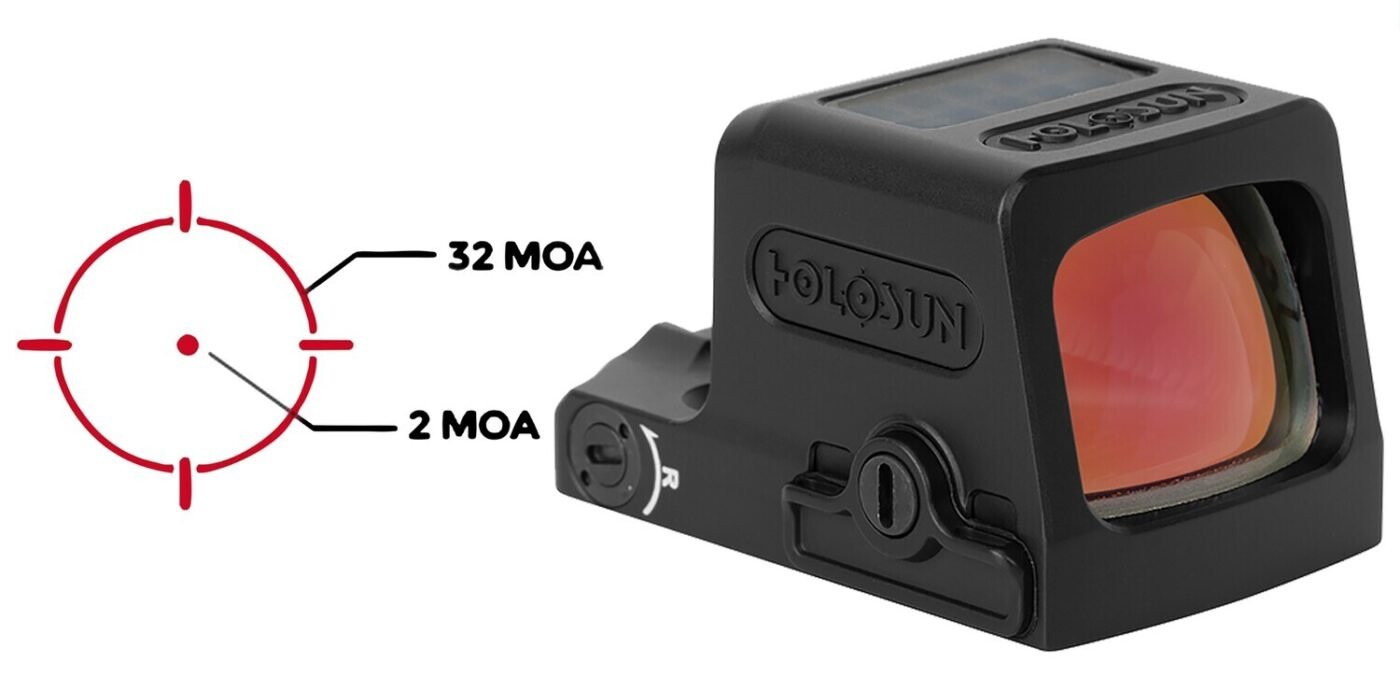
My EPS Carry Stuck on 6 MOA Red Dot
A common issue reported by users is the device being stuck on a specific reticle, such as the 6 MOA red dot. Here’s what you can do:
- Check the Battery: A low battery can interfere with the device’s performance. Replace the battery and try switching reticle modes again.
- Perform a Factory Reset: Follow the steps outlined above to restore the device to its default settings.
- Inspect the Controls: Ensure the reticle adjustment buttons are not damaged or obstructed.
My EPS Carry Unable to Change Reticle
If you’re unable to switch between reticle modes, consider these troubleshooting steps:
- Verify the Settings: Refer to the user manual to ensure you’re using the correct button combinations.
- Clean the Device: Dust or debris near the buttons can prevent proper operation. Use a soft, dry cloth to clean the optic.
- Contact Support: If the issue persists, reach out to Holosun’s customer support for assistance.
Holosun EPS Carry Unable to Change Reticle Modes
When the reticle modes are unresponsive, try the following:
- Update Firmware: Check if a firmware update is available for your device.
- Test on a Different Firearm: Attach the optic to another firearm to rule out compatibility issues.
- Seek Professional Help: Visit a certified Holosun technician or retailer for advanced troubleshooting.
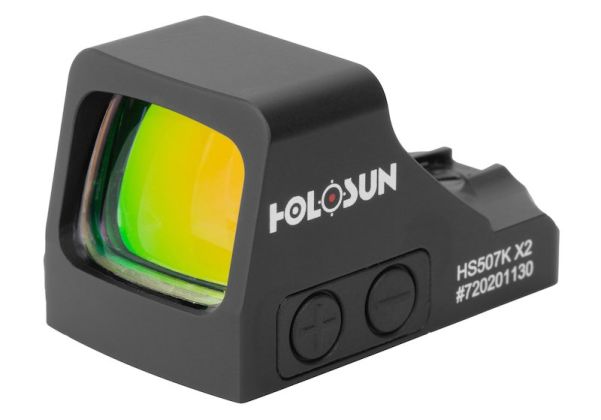
How to Turn On Shake Awake Holosun 507K
The Shake Awake feature is one of the standout functionalities of Holosun optics, ensuring your device is always ready when you need it. Here’s how to enable and troubleshoot this feature for the 507K model.
How to Turn On Shake Awake Holosun 507K
- Power On the Device:
- Press and hold the power button until the reticle appears.
- Confirm the Shake Awake feature is enabled by checking the manual settings.
- Adjust the Sensitivity:
- Use the adjustment controls to fine-tune the Shake Awake sensitivity.
- Test the Feature:
- Let the device enter sleep mode and gently move it to wake it up.
Holosun 507K Not Turning On
If your Holosun 507K doesn’t power on, consider these steps:
- Replace the Battery: Ensure the battery is fresh and correctly installed.
- Inspect the Contacts: Check the battery compartment for corrosion or debris.
- Reset the Device: Perform a reset to clear any potential software glitches.
- Contact Support: If the problem persists, consult Holosun’s customer service.
Holosun 507C Shake Awake
The 507C model also features Shake Awake technology. Here’s how to maximize its functionality:
- Enable the Feature: Ensure Shake Awake is turned on via the settings menu.
- Optimize Battery Life: Adjust the sleep timer settings to balance responsiveness and power efficiency.
- Troubleshoot Issues:
- Check for firmware updates.
- Inspect the device for physical damage.
- Perform a reset if necessary.
Explore this article for more troubleshooting tips and product updates.
FAQs on Holosun EPS Carry Reset and Features
- How do I factory reset my Holosun EPS Carry?
To factory reset your Holosun EPS Carry, locate the reset button near the battery compartment, press and hold it for 5-10 seconds, and release it when the reticle flashes. - Why is my EPS Carry stuck on the 6 MOA reticle?
This could be due to software glitches or accidental adjustments. A factory reset usually resolves this issue by restoring default settings. - Can I change the reticle modes on my Holosun EPS Carry?
Yes, you can switch between reticle modes by using the adjustment buttons. If this feature isn’t working, a factory reset or contacting Holosun support might help. - What is the Shake Awake feature, and how does it work on Holosun optics?
The Shake Awake feature automatically powers on the optic when it detects movement, ensuring readiness while conserving battery life. - How can I enable Shake Awake on my Holosun 507K?
Shake Awake is typically enabled by default. If it’s not functioning, check the battery or perform a reset to restore the feature. - What should I do if my Holosun 507K/507C doesn’t turn on?
Check the battery for proper installation or replacement. If the issue persists, contact Holosun support for further assistance. - Will resetting my Holosun EPS Carry erase all my custom settings?
Yes, a factory reset restores all settings to default, erasing any custom configurations you have made. - Can I reset other Holosun models the same way as the EPS Carry?
Most Holosun models have a similar reset process, but always refer to the user manual for model-specific instructions.